WIFI Module - Connect ESP32 to a WiFi
Discover how to set up the ESP32 as a WiFi client in this step-by-step demo. Learn how to connect the ESP32 to a WiFi network, send HTTP requests, and control an LED remotely through your browser. A perfect guide for beginners exploring IoT with ESP32.
Alright, next step. In this one, we will just see a demo, of using ESP32 as a WIFI client.
We can possibly, make a self hosted web server, or pretty much anything. But not today!
Today, we will just see if it works at all or not.
Let's take a look at the diagram below. And yes, I drew it myself.
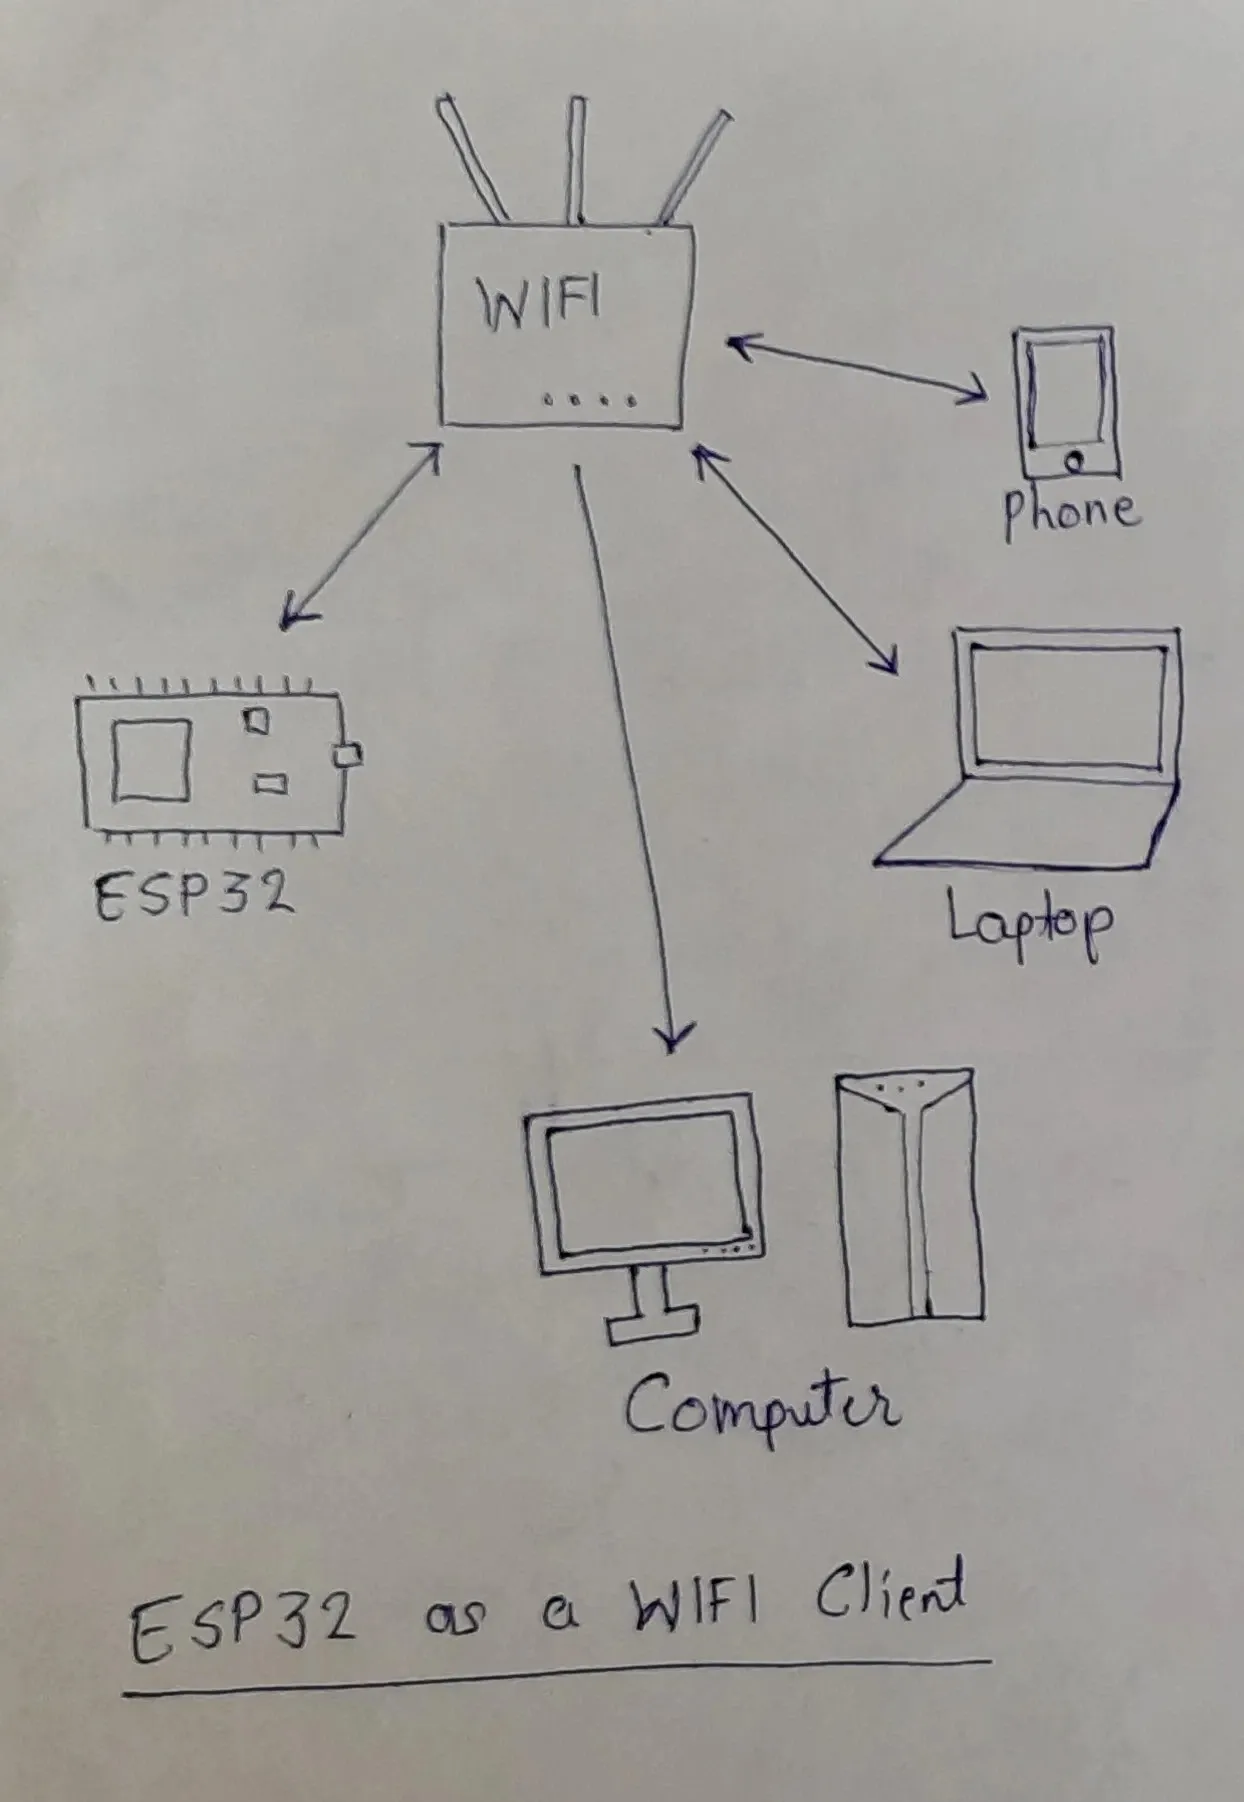
So, basically ESP32 connects to the WIFI just like a phone or a computer. And then we can use HTTP requests to connect to different services using on the internet.
Example Code
The code below is also given in the Examples, but there is a small difference, that it for ESP32 the light is connected to Pin 2 so I changed that.
#include <WiFi.h>

// WiFi username and password
const char *ssid = "nirmites";
const char *password = "****";

NetworkServer server(80);

int ledPin = 2;

void setup() {
  Serial.begin(115200);
  pinMode(ledPin, OUTPUT);  // set the LED pin mode

  delay(10);

  // We start by connecting to a WiFi network

  Serial.println();
  Serial.println();
  Serial.print("Connecting to ");
  Serial.println(ssid);

  WiFi.begin(ssid, password);

  while (WiFi.status() != WL_CONNECTED) {
    delay(500);
    Serial.print(".");
  }

  Serial.println("");
  Serial.println("WiFi connected.");
  Serial.println("IP address: ");
  Serial.println(WiFi.localIP());

  server.begin();
}

void loop() {
  NetworkClient client = server.accept();  // listen for incoming clients

  if (client) {                     // if you get a client,
    Serial.println("New Client.");  // print a message out the serial port
    String currentLine = "";        // make a String to hold incoming data from the client
    while (client.connected()) {    // loop while the client's connected
      if (client.available()) {     // if there's bytes to read from the client,
        char c = client.read();     // read a byte, then
        Serial.write(c);            // print it out the serial monitor
        if (c == '\n') {            // if the byte is a newline character

          // if the current line is blank, you got two newline characters in a row.
          // that's the end of the client HTTP request, so send a response:
          if (currentLine.length() == 0) {
            // HTTP headers always start with a response code (e.g. HTTP/1.1 200 OK)
            // and a content-type so the client knows what's coming, then a blank line:
            client.println("HTTP/1.1 200 OK");
            client.println("Content-type:text/html");
            client.println();

            // the content of the HTTP response follows the header:
            client.print("Click <a href=\"/H\">here</a> to turn the LED on pin 2 on.<br>");
            client.print("Click <a href=\"/L\">here</a> to turn the LED on pin 2 off.<br>");

            // The HTTP response ends with another blank line:
            client.println();
            // break out of the while loop:
            break;
          } else {  // if you got a newline, then clear currentLine:
            currentLine = "";
          }
        } else if (c != '\r') {  // if you got anything else but a carriage return character,
          currentLine += c;      // add it to the end of the currentLine
        }

        // Check to see if the client request was "GET /H" or "GET /L":
        if (currentLine.endsWith("GET /H")) {
          digitalWrite(ledPin, HIGH);  // GET /H turns the LED on
        }
        if (currentLine.endsWith("GET /L")) {
          digitalWrite(ledPin, LOW);  // GET /L turns the LED off
        }
      }
    }
    // close the connection:
    client.stop();
    Serial.println("Client Disconnected.");
  }
}
Then basically you just run the code. First verify the code and then upload it to ESP32. Just select the board and port as we did in the first article.
Serial Monitor
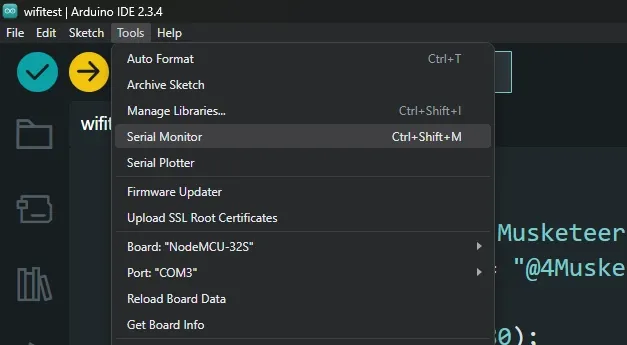
Once the code is uploaded, we can open the Serial Monitor from Tools > Serial Monitor .
Then change the baud to 115200 .
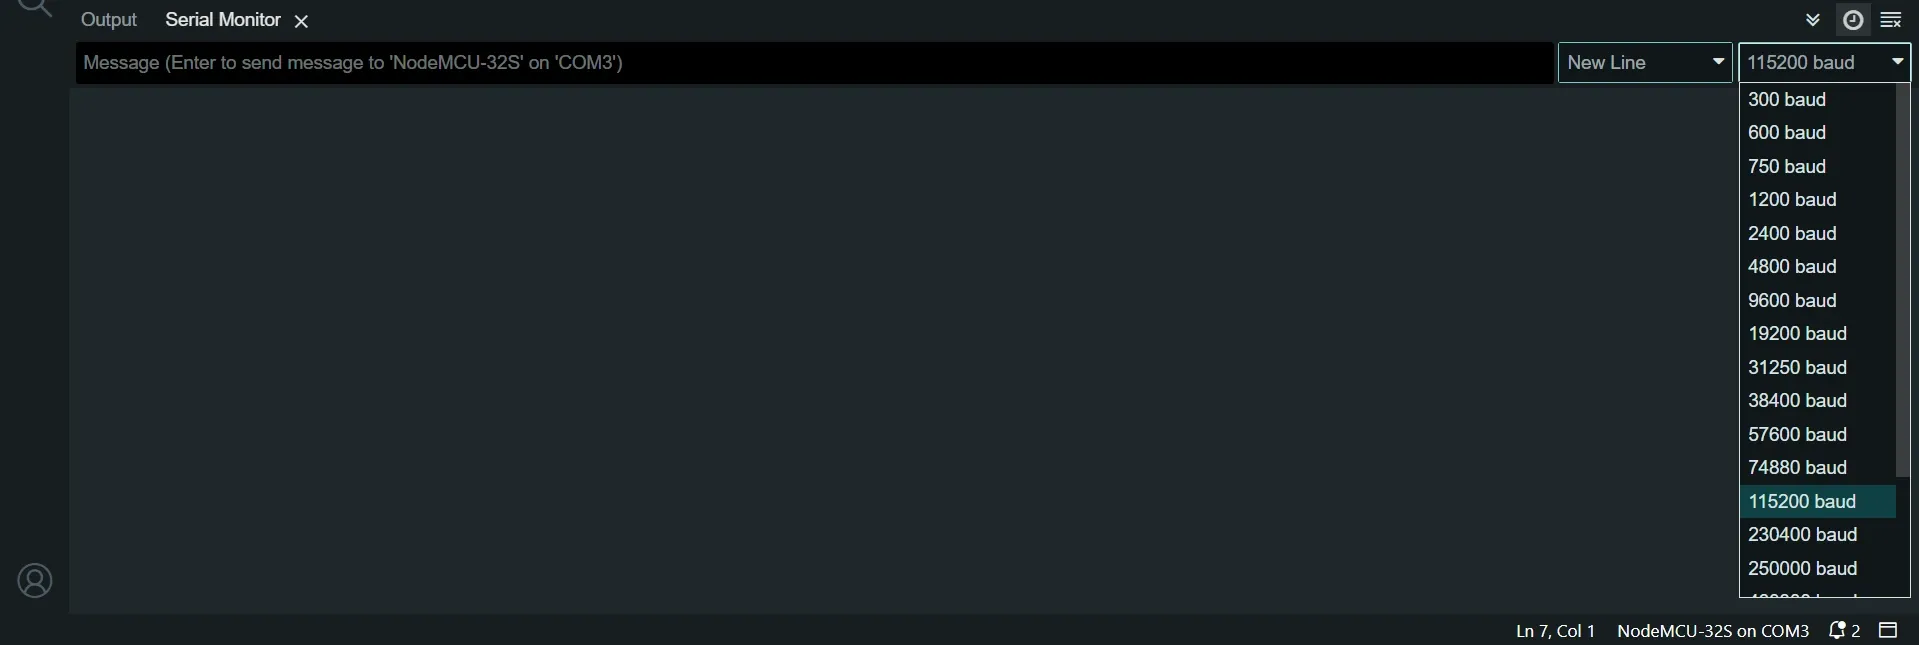
It did not show the previous messages, so we can just re-upload the code, and then it will log some messages.
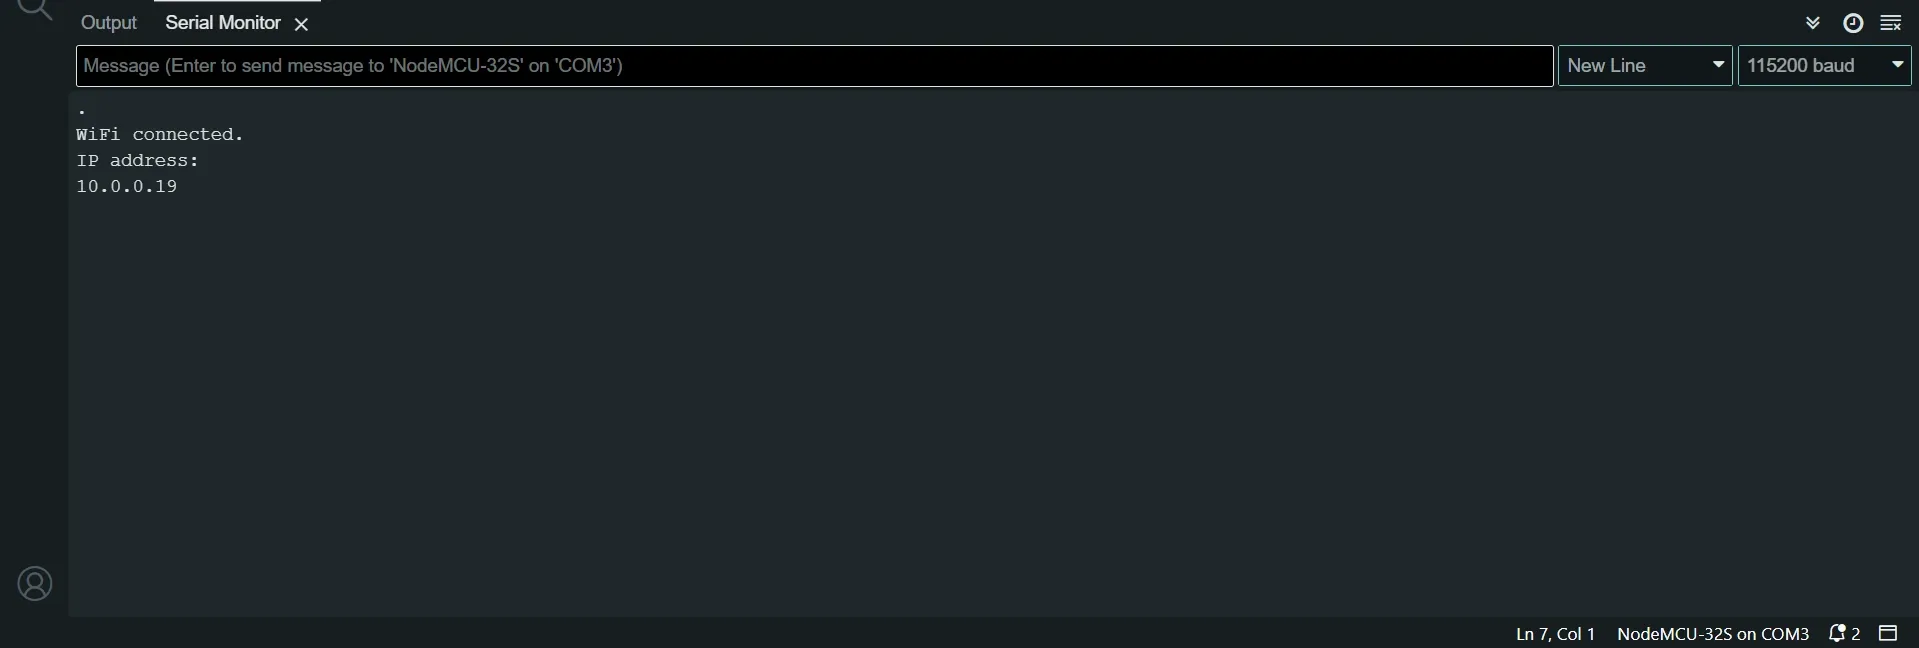
It says WiFi connected and then shows the IP address 10.0.0.19 which might be different for you. But whatever the address is, open it in a browser (Chrome in my case).
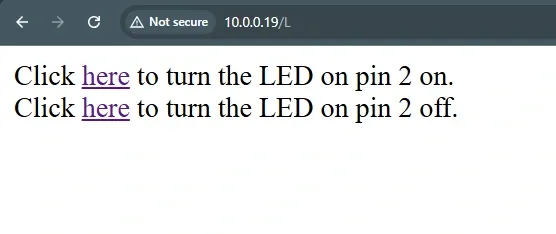
We can just press the On or Off links to turn the LED on or off. How cool is that.
Even better, you can connect our phone and open that link on your phone to turn the LED on or off. And that is amazing.
Thank you very much for reading, in the next article, we will do the same thing, but ESP32 will act as a wifi server, means it will have it's own username and password and other devices can connect to it.
Make sure to subscribe to the newsletter to receive emails whenever I post a new article.
Thank you very much.